I recently decided to build my first Universal Windows Platform (UWP) application. The result is RadarrApp, a Windows Store application that provides desktop access to my Radarr media library without needing a web browser.
Data Binding
One of the first fundamental XAML questions I had to address was choosing between { Binding } and { x:Bind }. I discovered that the latter option compiles type information at build time and binds to code-behind, offering advantages over the older binding methodology.
Layout Strategy
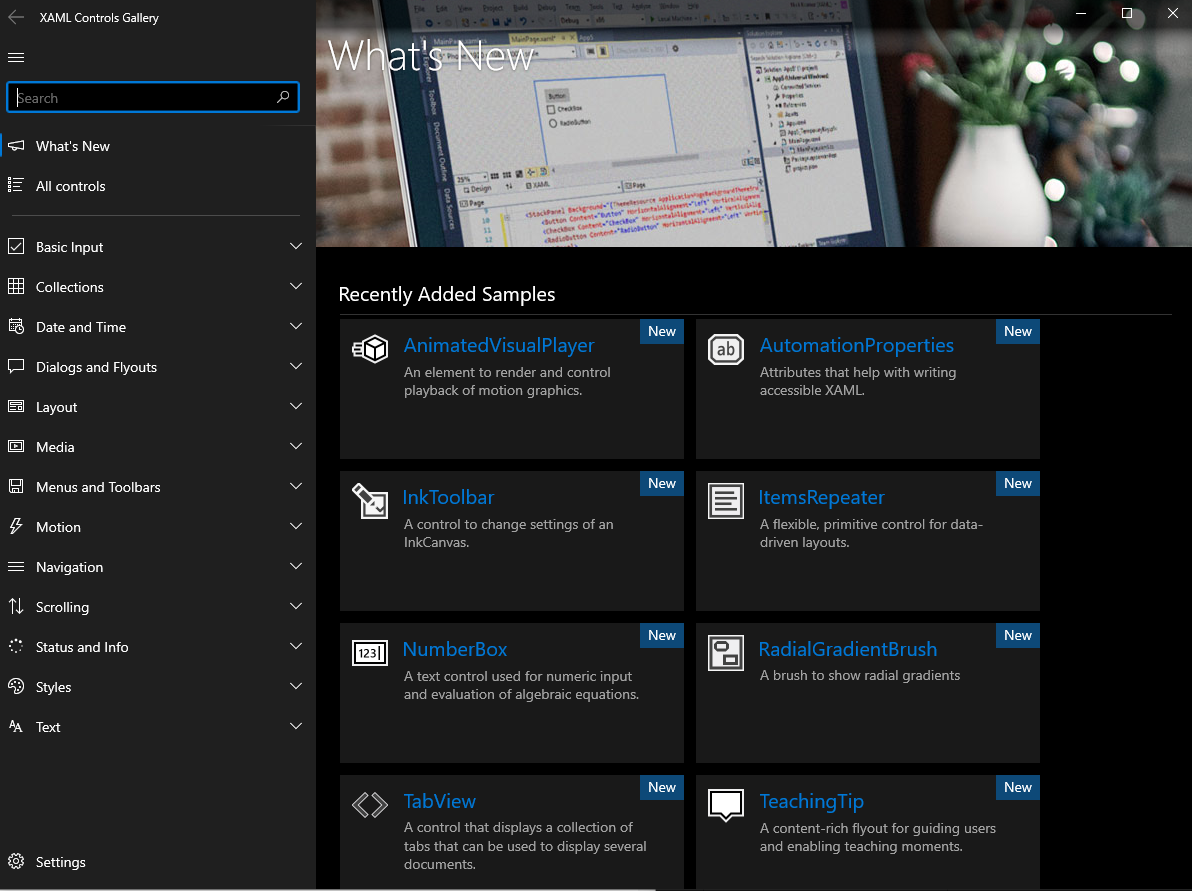
Drawing from my Windows Forms background, I initially positioned controls manually. I discovered the RelativePanel control through the XAML Controls Gallery application, finding it superior for flexible positioning without requiring the layout panels I’d previously used in enterprise accounting software development.
Store Submission
The Microsoft Partner Center submission process took approximately three days for full approval. The process required a privacy policy URL and recertification. Individual developers pay a one-time $19.99 registration fee (versus $99 for business accounts).
Technical Stack
- Built using RadarrSharp library (third-party API wrapper)
- Released as a free application leveraging open-source dependencies
- Available on Microsoft Store: RadarrApp (9p89t3x4ml77)